NextGen on CIROH-2i2c JupyterHub
info
If you are looking for the tutorial on working with AORC data, please refer to its new location under the HydroShare documentation folder.
CIROH-2i2c JupyterHub provides an image named "CIROH Community NextGen Hub". This image has the required packages for both NGIAB Data Preprocess and NextGen pre-installed.
You can access CIROH-2i2c JupyterHub from here:
- Primary environment: https://ciroh.awi.2i2c.cloud/hub/login
- Workshop environment: https://workshop.ciroh.awi.2i2c.cloud/hub/login
Using NextGen on CIROH-2i2c JupyterHub
- Log in to CIROH-2i2c JupyterHub. (If you need to request access, please see the Infrastructure Access page.)
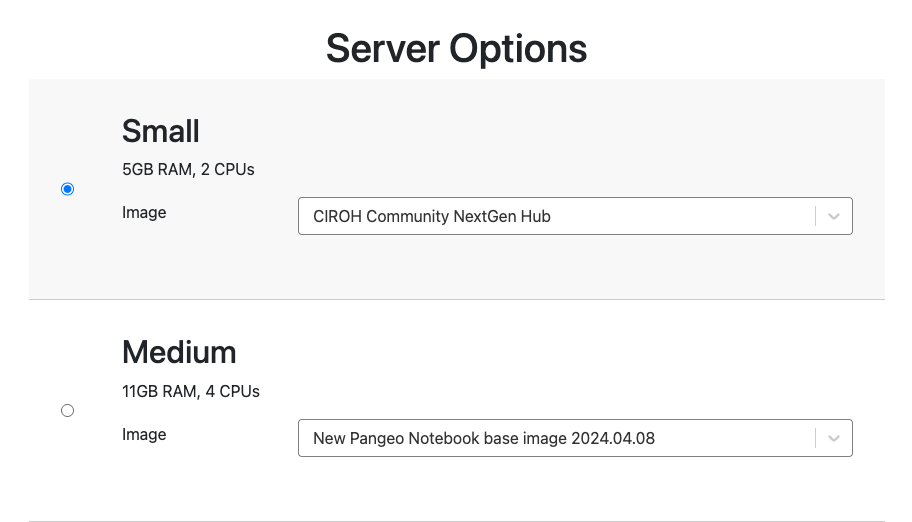
- Select your preferred server size, along with the "CIROH Community NextGen Hub" image.
- This image contains the prerequisites and entry points to run the NextGen framework.
- If you're just testing, or if you're otherwise unsure of what server size to use, then start with the default "Small" server.
- If a pre-existing server is already running, you can stop it from the "File → Hub Control Panel" section in the upper toolbar. For a video tutorial, visit the CIROH-2i2c JupyterHub page under Hub's IT Services section.
- Scroll down and click "Start" to boot up your JupyterHub server instance. (This will take a few moments to complete.)
- Visit the NextGen Water Modeling Workflow for Research-Scale Applications resource on HydroShare.
- This resource contains the frontend notebooks from which you can run the NGIAB workflow.
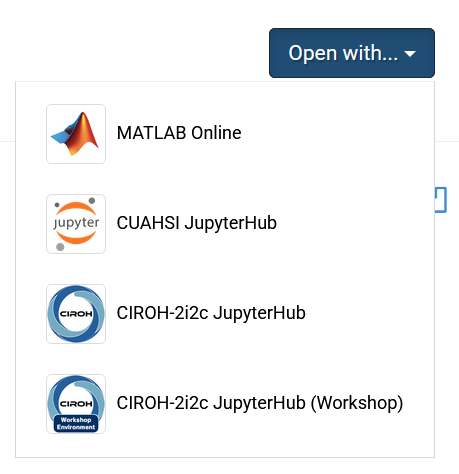
- Click the "Open with..." prompt in the top-right corner. (This may take a few moments to appear.)
- Select "CIROH-2i2c JupyterHub" to proceed to the primary CIROH-2i2c JupyterHub production environment.
- For the workshop environment, see "Enabling the CIROH-2i2c JupyterHub (Workshop) app connector" below.
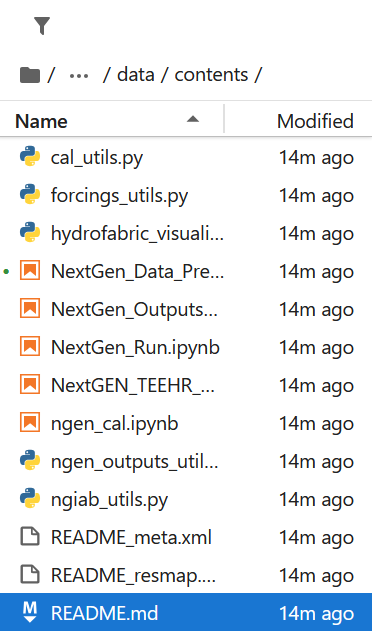
- The JupyterHub environment will load, and you will be brought to a folder containing the workflow notebooks.
- Refer to the included README.md file for detailed instructions on how to use these notebooks.
Importing HydroShare data into CIROH-2i2c JupyterHub
You can also use the "Open with..." integration within HydroShare to directly load arbitrary datasets, notebooks, and other content into 2i2c-JupyterHub, further expanding your modeling workflows.
- Visit the HydroShare resource that you'd like to load into CIROH-2i2c JupyterHub.
- Click the "Open with..." prompt in the top-right corner. (This may take a few moments to load.)
- Select "CIROH-2i2c JupyterHub" to proceed to the primary CIROH-2i2c JupyterHub production environment.
- The JupyterHub environment will load, and you will be brought to a folder containing your desired resource.
To browse relevant resources, see the Datasets and Notebooks research portals.
Enabling the CIROH-2i2c JupyterHub (Workshop) app connector
If you are participating in a workshop, you will need to enable the CIROH-2i2c JupyterHub (Workshop) app connector.
- Create an account or log in at hydroshare.org.
- Visit the CIROH-2i2c JupyterHub (Workshop) app connector.
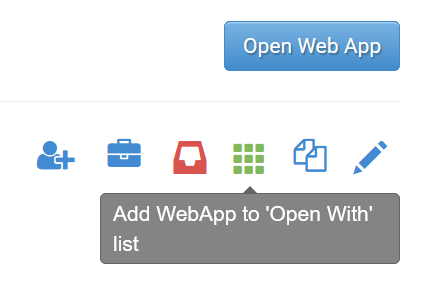
- In the top-right corner, click the icon depicting a grid of squares to add this web app to your "Open with..." list.
- To open resources into the workshop environment, use the app connector labeled "(Workshop)".